
If you have any questions about items to order, run into any difficulties, or wish to purchase or inquire about items that are not yet on the site, kindly contact me directly at "mikerosehobbies@gmail.com"
Please note that it is difficult to automatically calculate accurate shipping for very small and light items, like parts, etched steps, etc. But feel free to place your order regardless, with the assurance that I will refund any and all freight over charges upon shipping. You will pay actual shipping plus a small handling charge to cover shipping supplies in all cases.
Shipping update: I will ship via USPS Priority Mail only, as UPS and FedEx are not interested in dealing with small shippers. Please note that while USPS has been generally very reliable and the tracking is excellent, if they damage a shipment, even to the point of crushing the box, they WILL NOT pay a claim in my experience. All shipping is therefore done on a best effort basis. While we will work with you to resolve any damaged shipments, be advised that insurance from USPS is unlikely to work, period. We are very experienced in proper packaging and always do our best to insure the product arrives safely.
For both International AND Domestic orders, if shipping amount seems high, be assured that I will credit any shipping over-charges at time of order shipment.
| |||||||||||||||||||
|
|

-Mike Rose
If you have to build one of something, just build it. If you have to build many of something, by all means build a jig! Then you can mass-produce them and not go crazy doing it. While at first glance it may seem easy to make a
drop grab, getting consistent-appearing ones is another matter entirely.
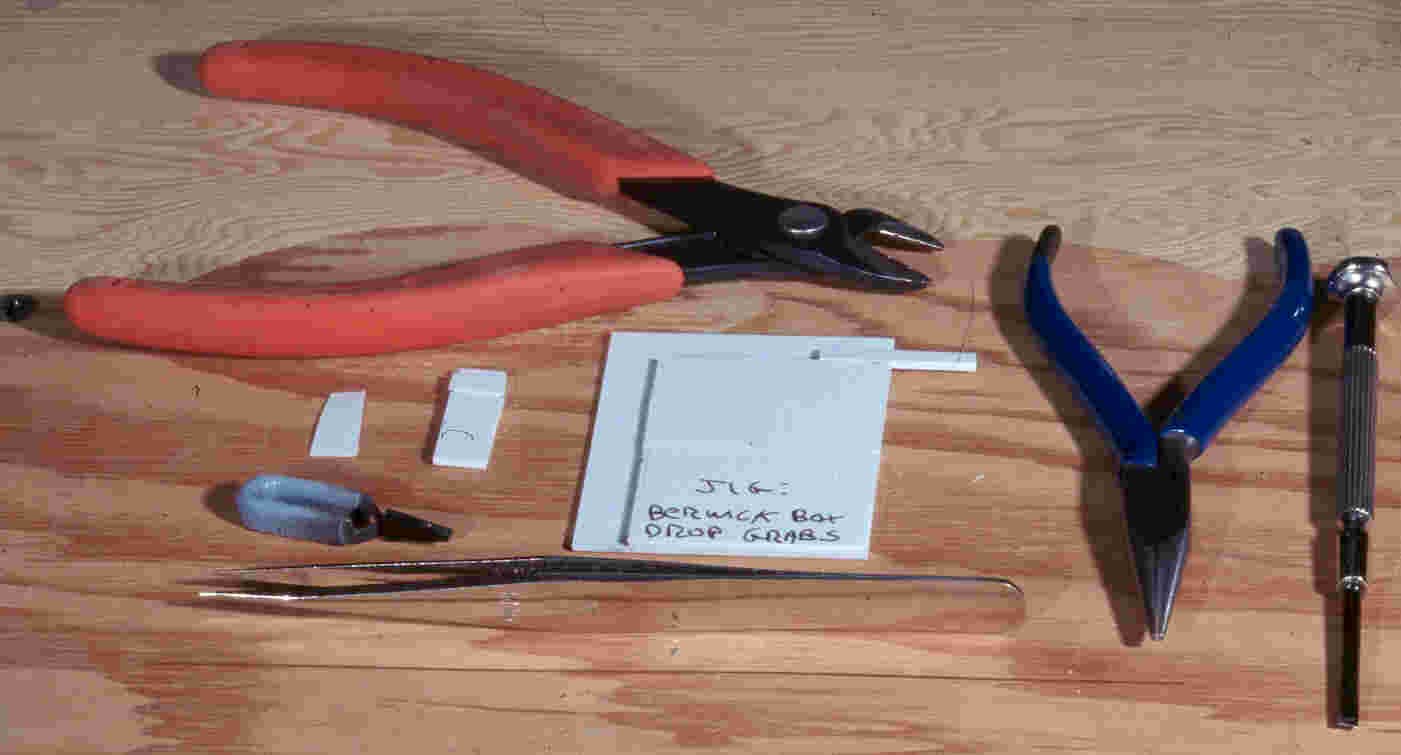
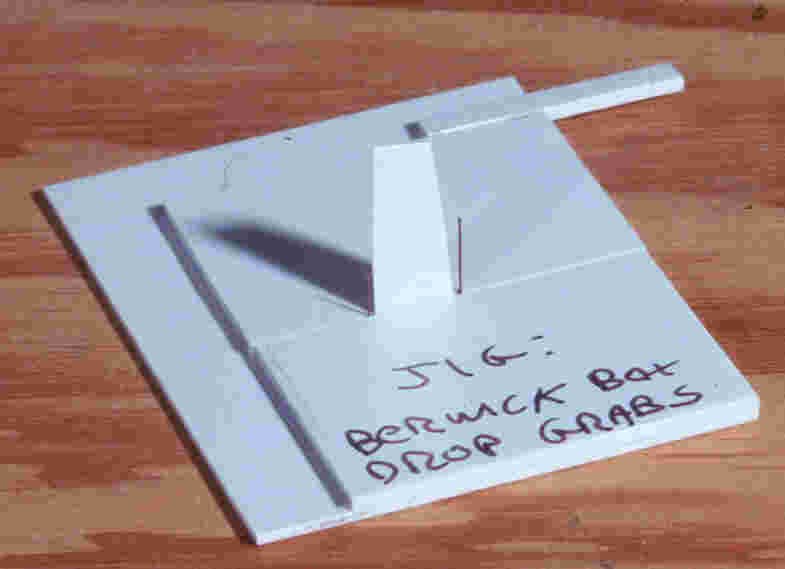
The above shows the tools you'll need, along with the jig.
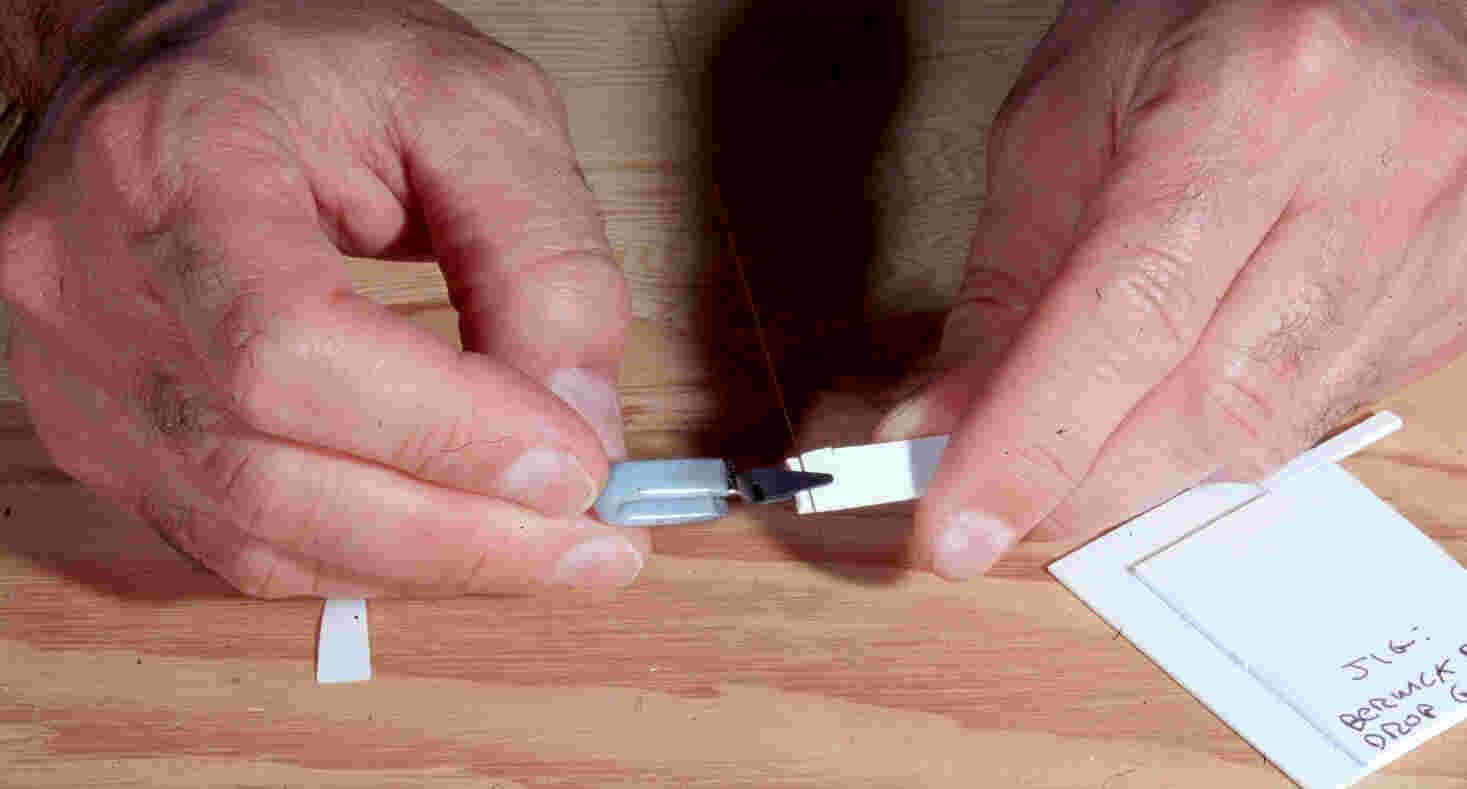
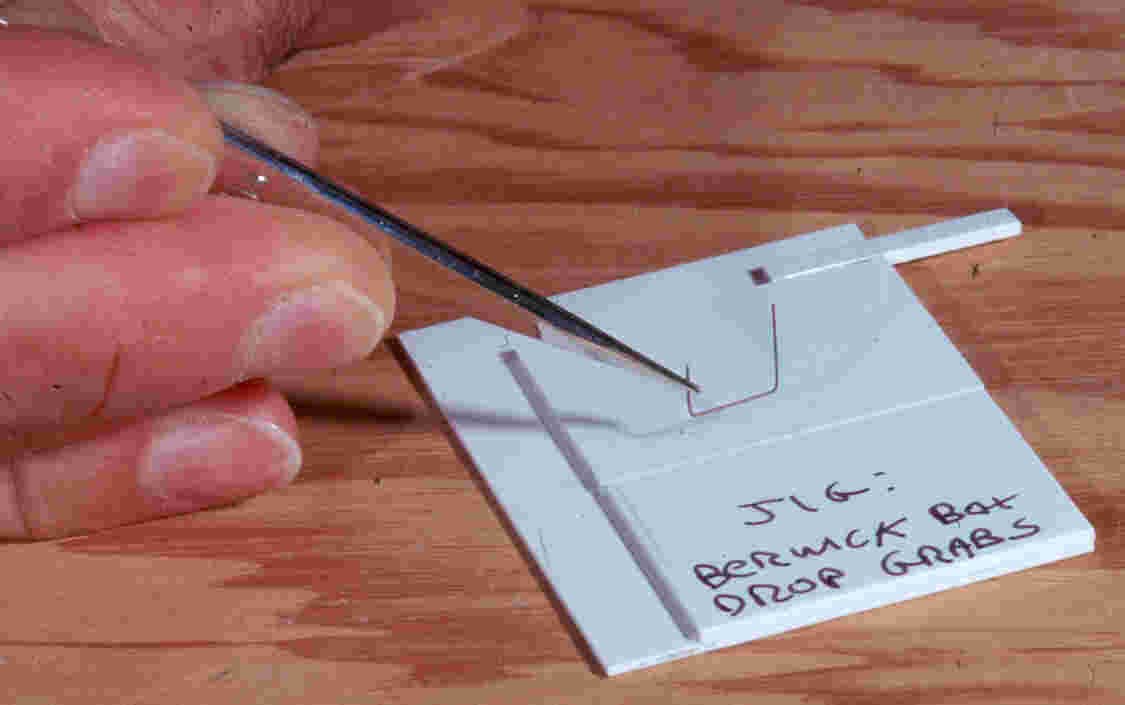
The jig being used to bend .010 wire to form the basic grab iron. Note the small clamp to help hold the grab in place while bending.
The jig being used to bend .010 wire to form the basic grab iron. Note the small clamp to help hold the grab in place while bending. Other side being bent. (Note: For the Sieco car, the correct 24" width grabs are available from
Tichy, so you can skip the above step when making grabs for the Sieco car)
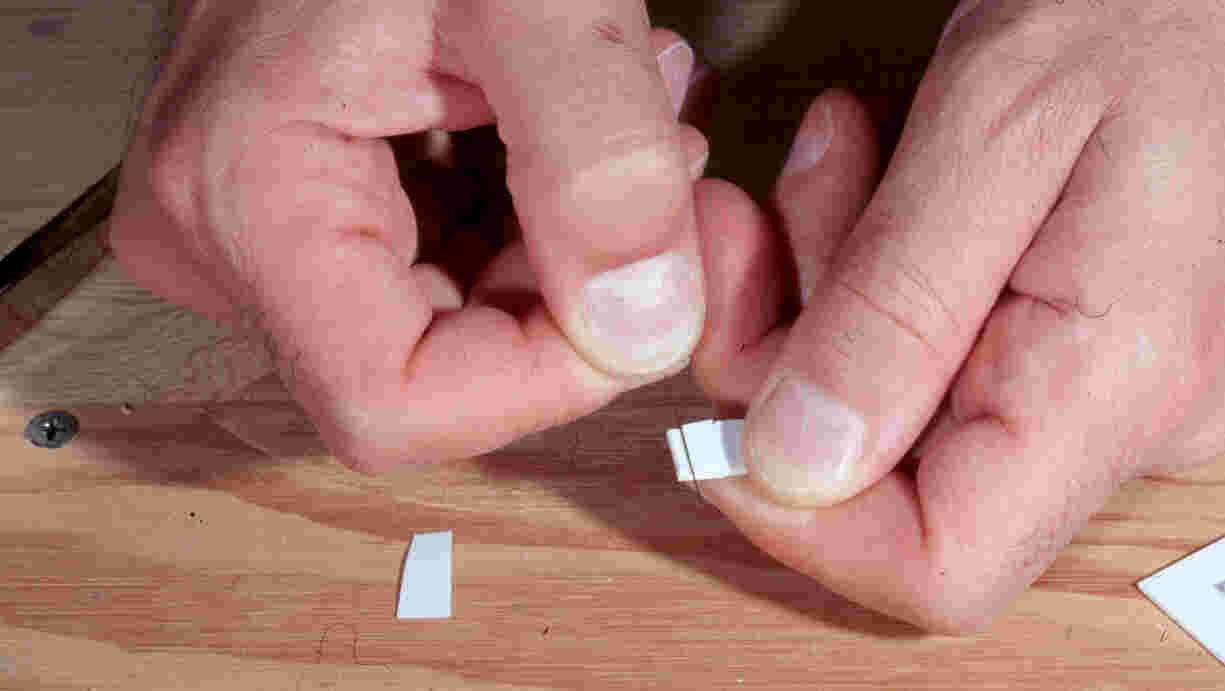
The basic grab being placed into the bending jig.
Once the basic grab is formed, the next step is to form the drop portion of the grab. The trick is to do this accurately so they all match, not as easy as it sounds. When I tried doing this just with needle nose pliers, they were off
enough that they didn’t look right. Time for another jig!
I took another piece of .040 plastic out of the scrap bin as a base, approximately 1-3/4" by 2-1/4", but again the dimensions are not critical. What is critical is that the thickness of the next two pieces equal the amount
of the drop you wish to create. I based mine on the Details Associates SY-2202 drop grab. I judged this dimension to be .080, so I cut two pieces of this material, sized to fit on the jig base. I spaced these on the base just
slightly wider than the wire I was using, not measuring, just using a couple of the DA grabs to get the right spacing. I found it easier to glue down one piece securely with Pro Weld liquid cement, then glue the other one in place
with Testor’s to get some “wiggle time” and get it exactly where I wanted it.
Once the jig has set up, preferably overnight, it’s ready for use. Meanwhile take the time to make up a total of 17 grabs with the bending jig. The car only needs 16, but I can almost guarantee that if you make only 16, one will
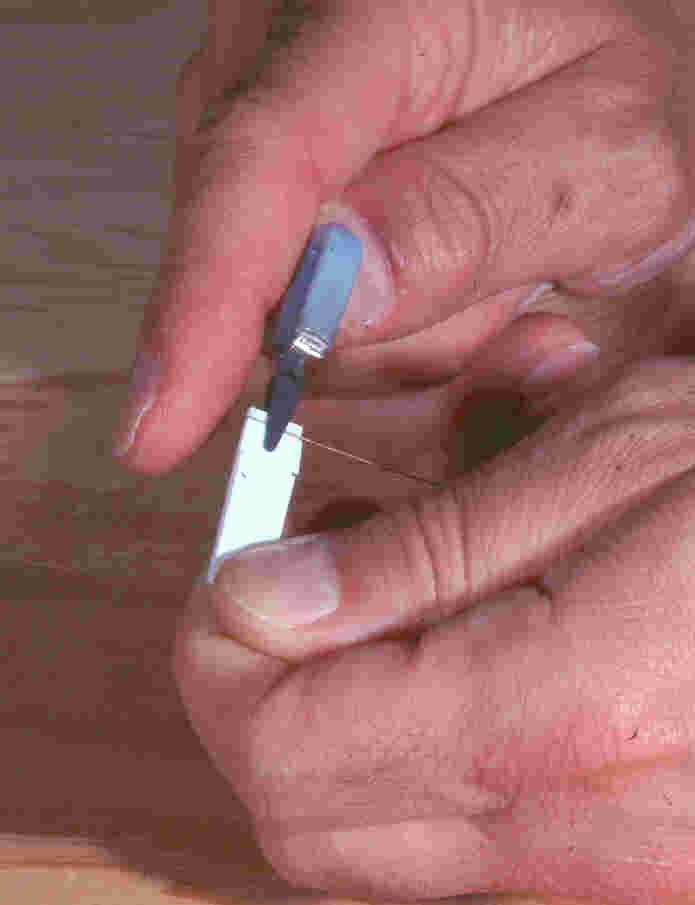
fly out of your hands never to be seen again! As shown in the next photo series, place the already made 30" grab all the way down into the slot in the jig.